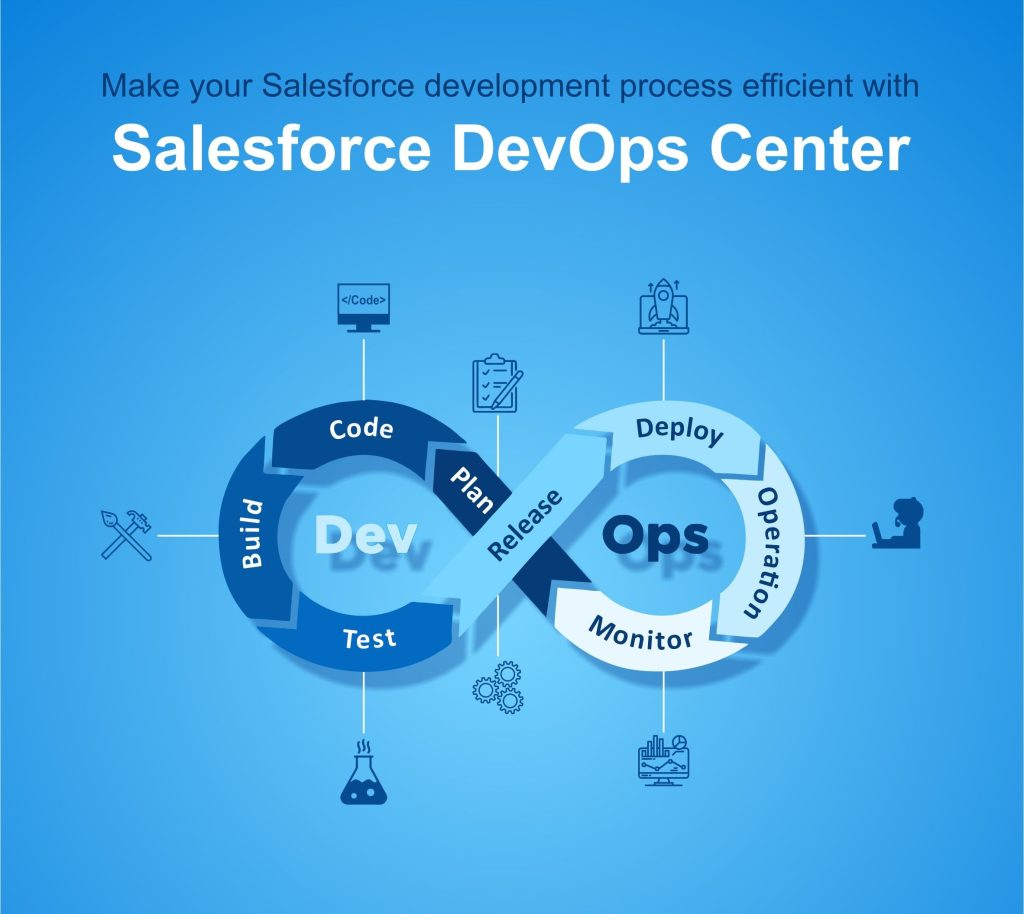
To create high-quality software, we must be able to trace any changes and, if necessary, roll them back. Version control systems serve this purpose by recording project history and assisting in the merging of changes made by many individuals. They significantly speed up work and allow us to spot bugs more easily.
Furthermore, working in distributed teams is made feasible primarily via the use of these technologies. They let several individuals to work on different areas of a project concurrently and then combine their efforts into a single product.
There are two basic patterns for working with version control in development teams. One approach is to utilize feature branches, in which either a developer or a group of developers creates a branch, often from the trunk (also known as main or mainline), and then work in isolation on that branch until the feature being developed is complete. When the team believes the feature is complete, they merge the feature branch back into the trunk.
The second style is trunk-based development, in which each developer breaks their work into tiny batches and merges those batches into the trunk at least once (and maybe multiple times) every day. The primary distinction between these techniques is in their scope. Feature branches usually need multiple developers and might take days or even weeks to complete. Branches in trunk-based development, on the other hand, generally endure only a few hours, with numerous developers routinely merging their separate changes into the trunk.
In this blog, we will discuss more about the Trunk-Based development workflow.

What is Trunk-Based Development?
Trunk-based development (TBD) is a source control workflow model that enables continuous integration.
The primary purpose of trunk-based development is to avoid the creation of long-lived branches by merging partial changes to the entire feature. Developers can achieve this by committing straight to the main branch or by using short-lived branches with an efficient code review process. Branches, by definition, should only live a few days.
If other developers are working on related changes, merging partial changes results in initial feedback, decreases merging complexity, and reduces redundant effort. When the merging process is efficient, the developer does not lose focus by going back and forth between tasks. Because the main branch, also known as the trunk, should be ready to deploy at any time, each modification should not break the build. There are procedures, such as automated testing, feature flags, and branching by abstraction, that enable the team to adopt this methodology.
Benefits of using trunk-based development
1. Complexity is reduced
One of the primary advantages of trunk-based development is the reduced complexity of merging multiple branches into one. This method aims to avoid merge hell, a circumstance in which separate components must be integrated for the first time, resulting in unforeseen bugs, integration challenges, and preventing the team from deploying.
2. Speed of delivery is increased
Implementing and using trunk-based development in the long term could increase team discipline and a feeling of teamwork by establishing clear processes and giving more opportunities for collaboration.
According to a Google research, high-performing firms are more likely to use trunk-based development.
3. Feedback loop is shortened
Short feedback loops might also assist validate early design assumptions. Because the trunk should be always stable, the code is potentially releasable to customers for getting early feedback.
When Does Trunk-based Development Work Best?
# When you are just starting up.
This design is ideal for you if you are developing your minimal viable product. It provides maximal growth speed with the least amount of formality. Developers may develop new features at the speed of light since there are no pull requests.
# When you need to iterate quickly.
Once you reached the first version of your product and you have a change request, you can use this style to pivot into a new direction.
# When you work mostly with senior developers.
If senior developers make up the majority of your team, you should put your faith in them and let them handle their responsibilities. They are able to exercise their professional competence in this workflow, which also grants them the autonomy they require.
When Can Trunk-based Development Be Problematic?
# When you run an open-source project.
If you’re working on an open-source project, Git flow is the better choice. You need very strict control over changes and you can’t trust contributors.
# When you have a lot of junior developers.
If you have mostly junior developers in your team, then it’s a better idea to tightly control what they are doing. Strict pull requests will help them improve their skills and identify potential bugs quicker.
# When you have a stable product or manage large teams.
If you already have a stable product or manage large teams at a large corporation, Git flow may be a better option. You want to have strict control over what is happening with a well-established product since they require very precise changes.
Trunk-based Development Workflow Example

1. Creating Feature # 1 (Developer # 1)
1. First, we need to clone down the repository
git clone [email protected]:<repopath>.git
2. Create a new branch off main. Make this branch’s name related to the work being done.
git checkout -b feature/<feature_id>3. On the new branch, go ahead and code and add commits
4. Push this new branch. This will run unit tests, static code analysis, Sonar cube checks, security checks, etc before we merge to the main
5. Create a PR against the main with the proposed changes to kick off a discussion. A Pull Request (PR) should be opened for all new branches that you wish to merge into the main. The sooner you open up a PR, the better, even if the PR isn’t ready yet (make sure to add WIP)! . The more time we have to discuss proposed changes and fixes, the higher our code quality will be
6. After having your PR reviewed, if further changes are needed, repeat steps 2 and 3
If everything looks good a team member will merge your PR. Your PR MUST be approved and merged by someone who did not contribute any commits to the new branch. The more eyes we have on our code, the better the quality.
2 Creating Feature # 2 (Developer # 2) and Rebasing
1. Pull and rebase remote main onto our local main branch
git pull --rebase origin mainSince our PR was approved and merged in Github, we need to make sure that our local main branch is up to date with our remote main. We are treating both mains as one and the same!
We’re using the --rebase flag to make sure that our local main’s history aligns with the remote to prevent merge conflicts
2. Add some new functionality commits!
3. Push the code up to Github.
4. We should perform any tests that we need to validate the new functionality
5. Open a PR and check the below note
6. First, let’s update our local main branch
git checkout main
git pull --rebase origin main
7. Grab the latest commits from our local main branch, and get them into our branch
git checkout <feature-2-branch>
git rebase main
Frequent rebasing is encouraged in the TBD workflow. As all developers are iterating on the main, it will be updated constantly. git rebase allows us to temporarily remove any commits made on our branch, apply the missing commits from the main onto our branch and then reapply our commits on top of them. This ensures that we’re keeping the main’s commit history consistent across all branches.
8. Now that our branch is up-to-date, we should re-test our branch, make any necessary changes and push to our remote.
git push origin <feature-2-branch> -fSince we have added new commits to our branch’s git history, we need to pass in the -f flag. This will allow git to overwrite the history of the remote branch. If we don’t do this Git will error out when it sees that the local and remote mr/issue-2 branch’s history differ.
3. Cut a Release Branch
1. At this point we are ready with respective release features to cut a release. A release should always be cut from the trunk. Let’s call it Release/0.1
git checkout main              # checking out to our main branch
git pull --rebase origin main  # ensure that our local main is up-to-date with the remote main
git checkout -b release/1.1.0           # create the Release branch
git push origin release/1.1.0           # push Release branch to remote
3. Hot Fix Process
1. A new branch based off main/trunk is created to develop functionality that fixes the problem in our release branch.
2. The new branch is then merged into the main.
3. The commit/PR with the fix is cherry-picked onto our release branch
4. By bringing changes into the main first, we ensure that we never have regressions in production.
git checkout release/1.1.0          # checkout to our Release branch
git cherry-pick -m 1 -x <SHA>       # cherry pick commit onto our Release branch
git push origin v1.1.0              # update remote Release with new fix
3. Creating a Release Tag
1. Cut a release by creating a tag ONLY on the release branch.
git checkout release/1.1.0
git tag -a -m "Releasing version 1.1.0" v1.1.0
git push origin v1.1.0
The 1.1.0 tag we just cut will provide users with an environment/application that works and includes all the functionality that we’ve developed so far. Every sprint we will go through this same process of cutting releases.
You can see the ease and transparency that Trunk-Based Development provides to the development process now that you’ve read Beginners Guide to Trunk-Based Development. I would recommend you to try and see if this is a good fit for your team.