Introduction
- FastAPI is one of the easiest and fastest frameworks available for Python 3.6+.
- Its general use case is for the backend mainly, that is for building API’S.
- Performance is very high as compared to other python frameworks such as Django and Flask.
- As it is basically designed for developing the API’S so the loc(lines of code) is very less as compared to others.
- Debugging is also very easy.
- It is a robust framework.
- All the basic standards of the API are followed.
- Reusability of the code is easy to implement.
- It is the most modern API framework available in python.
- Swagger is by default available in FastAPI, it is the most useful feature available for the API’S visualization.
- ReDocs is also provided if someone doesn’t want to use the swagger.
- For the CLI Application Typer can be used, it is similar to the FastAPI.
- Pydantic library is supported by default you can type hints.
- It supports JSON Schema.
- By default, the return type will always be JSON.
- Autocomplete feature is also supported.
- Plugins are also supported.
- Starlette feature of python is also supported.
Requirements
- Python 3.6 or above, can be downloaded from https://www.python.org/downloads/
- Flaskapi – pip install flask-api or pip3 install flaskapi https://pypi.org/project/Flask-API/
- Uvicorn – pip install uvicorn or pip3 install uvicorn https://pypi.org/project/uvicorn/
- IDE – PYCHARM https://www.jetbrains.com/pycharm/
Demo Application
- Let’s get our hands dirty, and start building our dummy application.
- Let’s create a folder named FastAPI, in it, we are going to have the main file and a requirement.txt file.
- In the requirement.txt file, we are going to have all the packages that are required in this application.
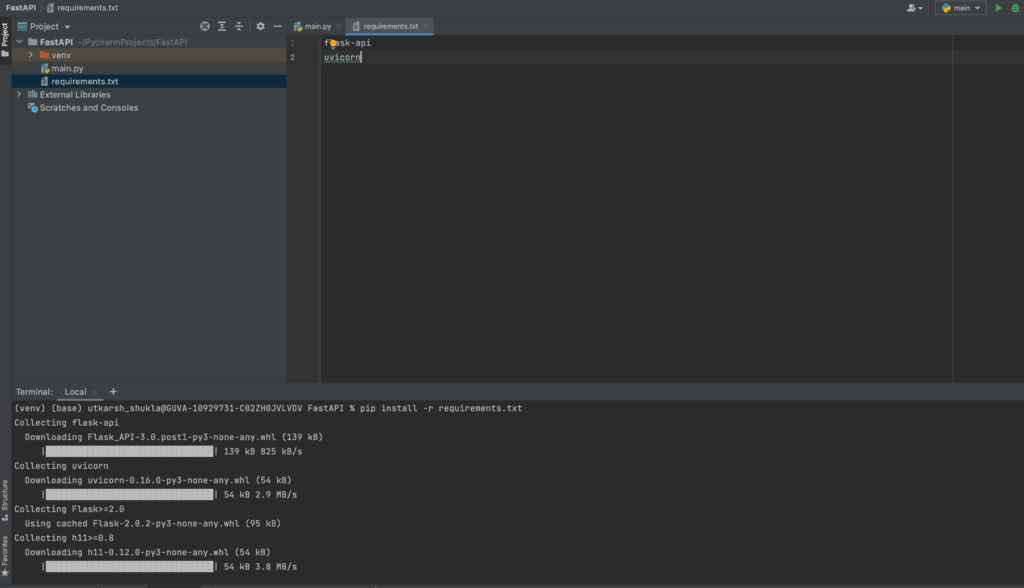
- Let’s install all the packages at one – pip install -r requirements.txt, this command will install the packages that are present in the requirements.txt file.
- Now, let’s write the code for our first API.
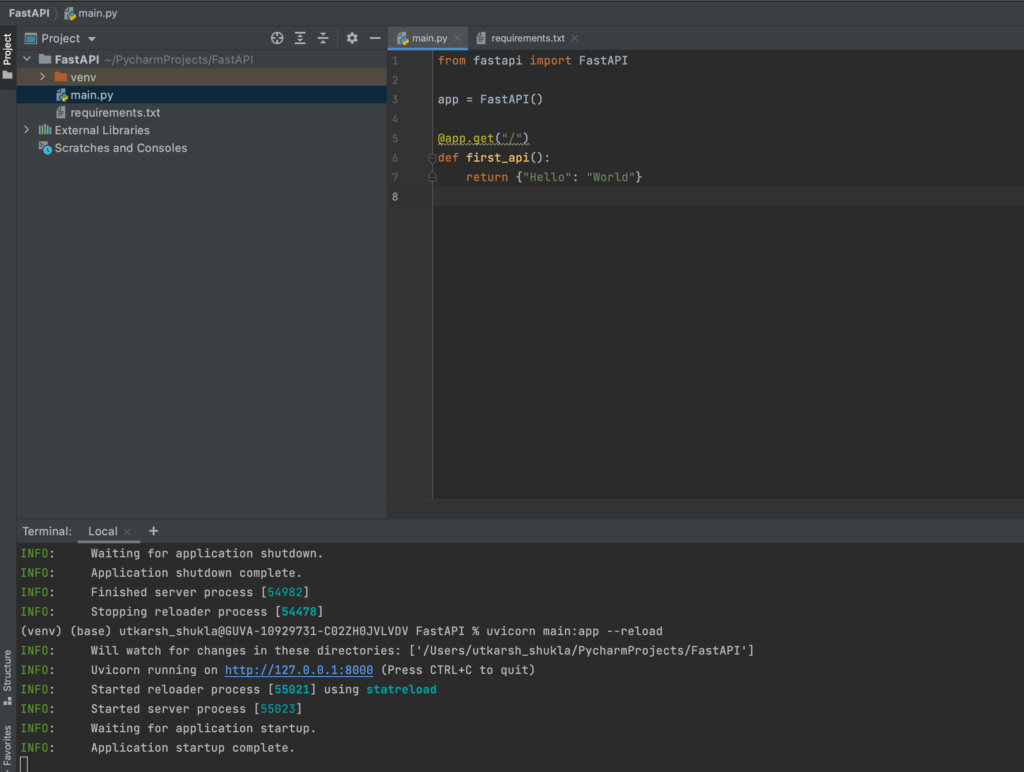
- In the main.py let’s import FastAPI from fastapi.
- we will initialize our app variable by this instance of FastAPI.
- Let’s create a function first_api that returns a normal dictionary {“Hello” : “World”}
- We will decorate this function by app.get inside this method we will pass the routing path.
- Now, let’s run our application using the following command uvicorn main:app –reload
- Now our app is up and running let’s open our localhost on the browser.
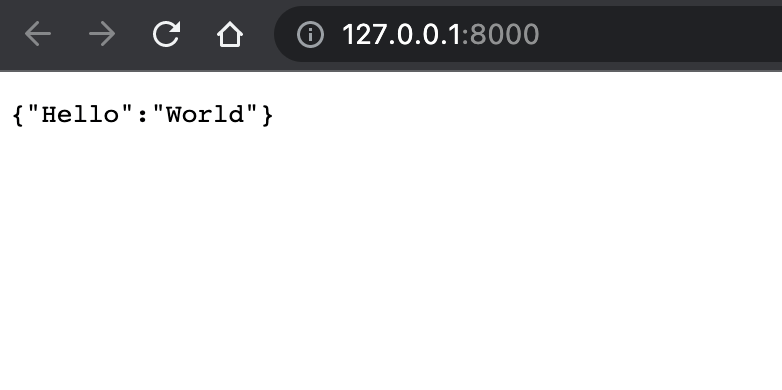
- And here is the result of your API, this is how simple it is to create an API in the FastAPI framework.
- Now let’s talk about the code- the command to run the app – uvicorn main:app ==reload
- Uvicorn is a lightning-fast ASGI server implementation, using uvloop and httptools use to run the application
- Main is the file where we have created the instance of FastAPI.
- It can be of any name then you just need to change the name of the main to your preferred name in the app running command.
- app is the name of the variable to which we have created the instance of the FlaskAPI.
- It can also be of any name, you just need to provide that in the app running command.
- The decorator app.get, where app is the instance while get is the method of the API, it can be delete, post, put etc.
Routing
- Let’s see how we can create a dynamic routing.
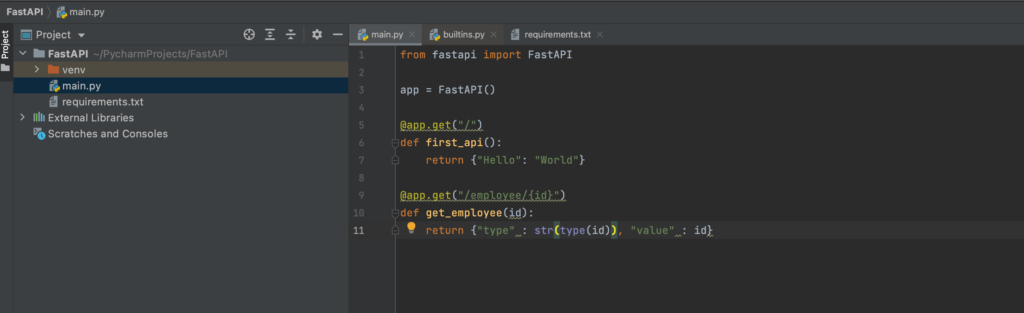
- So for that let’s assume we are creating an employee’s application, where we need to search a employee by it’s ID.
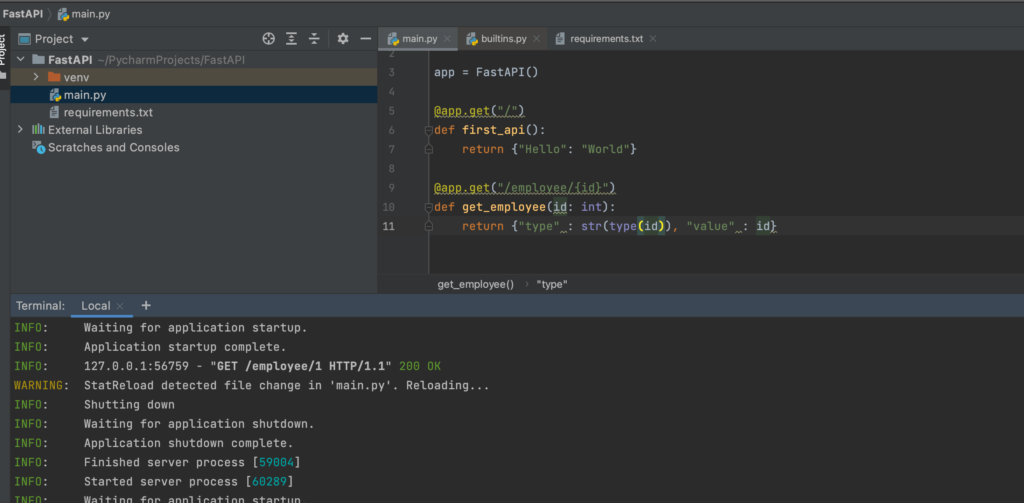
- so for that we just need to update our app.get() to app.get(‘/employee/{id}’), so for the dynamic path, we use {} braces.
- now we just need to pass that dynamic variable in the function decorated by the app instance.
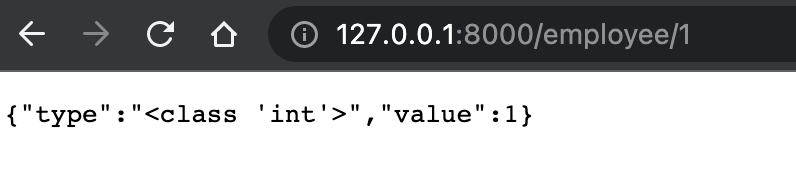
- By default the type is of string, we can also change it by just writing variable_name : data_type, example – id : int.
- By this, it will now take it as int.
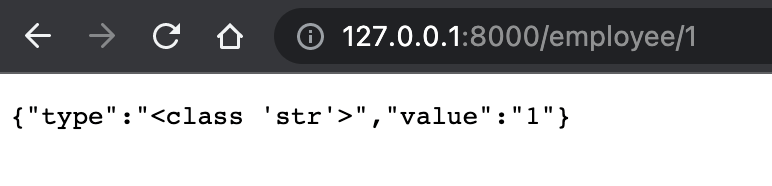
- Now the question comes is what will happen if we pass a string instead of int, Let see what happens.

- So this is one of the best features of FastAPI, it shows you the error message. It is handled by the Pydantic.
- Pydantic official documentation https://pydantic-docs.helpmanual.io/.
- This is how easy it is to use the FastAPI.
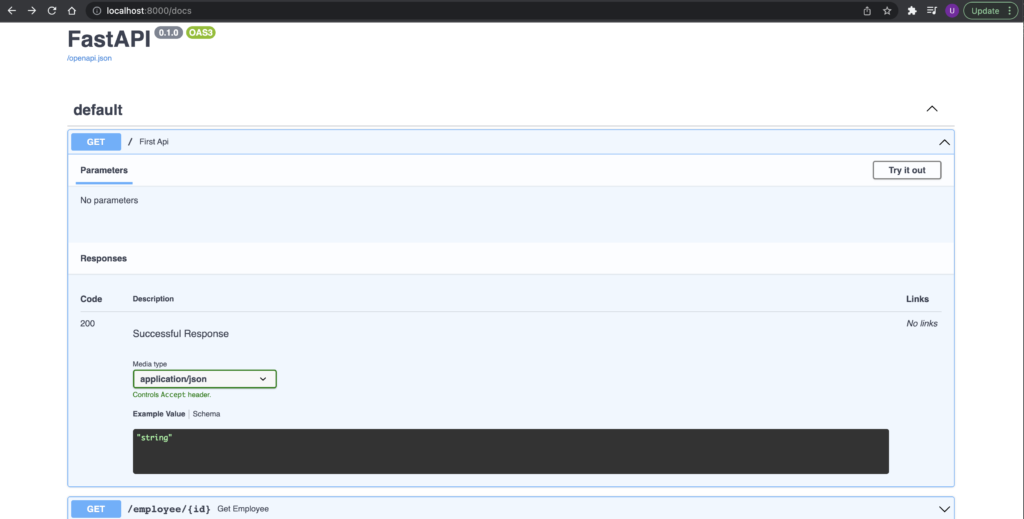
Swagger and ReDocs
- For connecting to the swagger – we just need to go the docs URL, that is – http://localhost:8000/docs
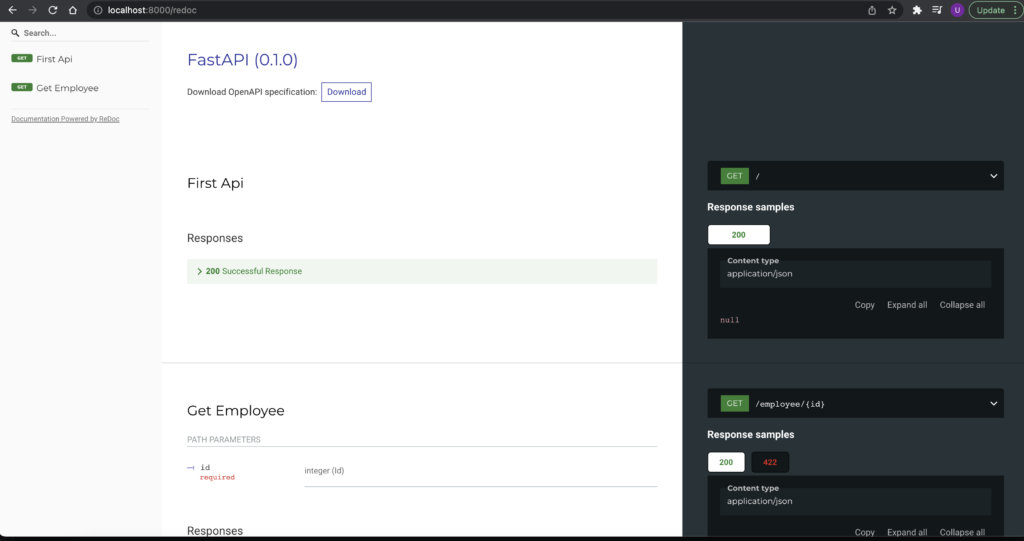
- Similary for redocs – http://localhost:8000/redoc
- It is just a route you need to remember for using both of them rather then writing a whole code for using swagger or redocs like you have to do in Django or Flask.
Conclusion
- In this part, we have covered the basics of FastAPI, what are the advantages, how to use it.
- In the next part, we will deep dive into more concepts such as making connections between the DB’s and CRUD operations.
References
Still Curious? Visit my website to know more!
For more interesting Blogs Visit- Utkarsh Shukla Author